Water Damage in Your House: What to Do Immediately and How to Restore It
How fast you respond to water damage determines whether you’re looking at a repair job or a full replacement. The sequence below covers every phase in order — safety, source identification, water removal, drying, documentation, and repair. Work through each phase completely before moving to the next.
The Seven-Step Response Sequence
1. Turn off electricity first. Before entering any affected area, shut off power at the breaker box. Check for sagging ceilings, buckled floors, or damaged walls that could indicate structural risk.
2. Stop the water source. For a plumbing failure, shut off the main water supply immediately. For weather-related intrusion, locate where water is getting in and block it with tarps, towels, or temporary sealing.
3. Remove standing water. Use a wet/dry vacuum, mop, or towels for smaller amounts. For significant flooding or large-area saturation, use professional-grade extraction equipment or call a water removal service.
4. Dry the affected area. Run fans and dehumidifiers, and open windows to move air and pull out moisture. Keep drying equipment running for several days. A surface that looks dry is not necessarily dry.
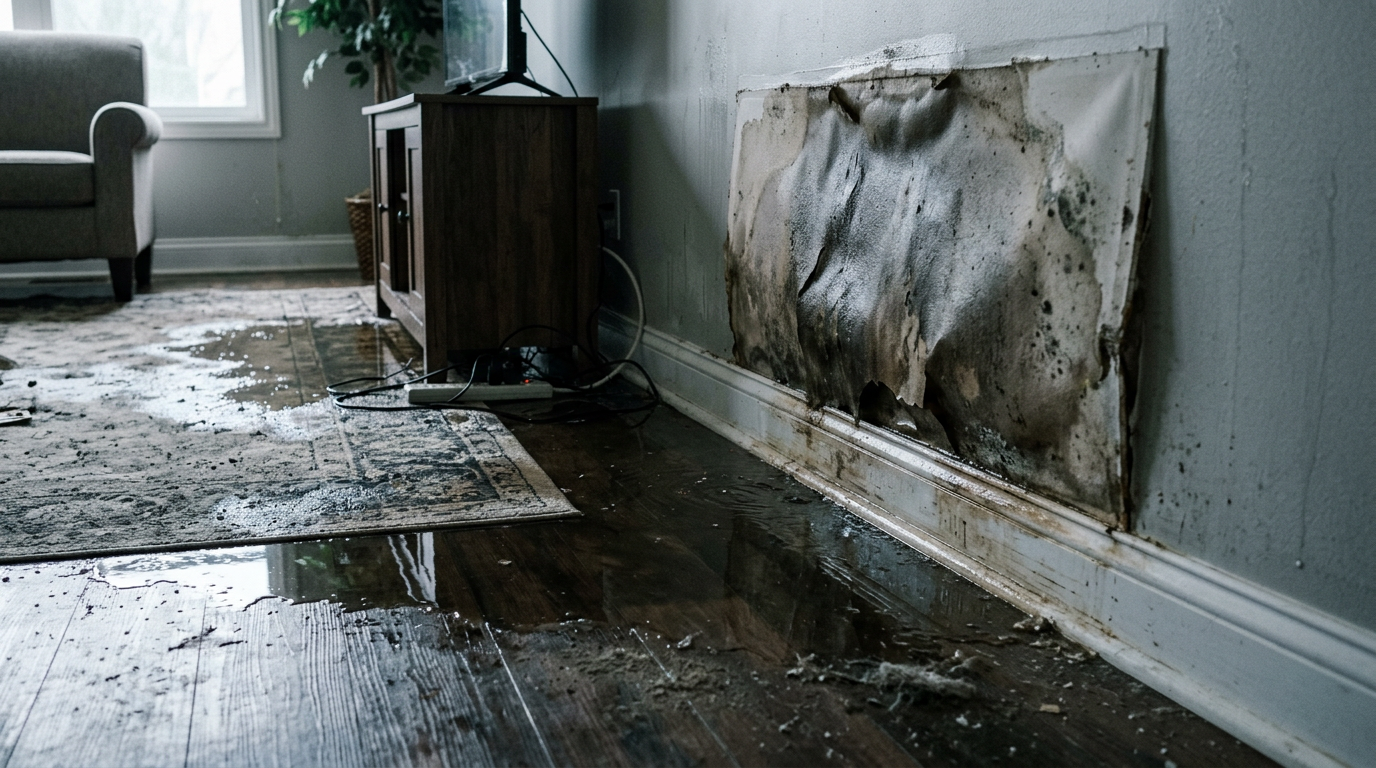
5. Prevent mold. Mold can begin growing within 24 to 48 hours of water exposure. Keep drying equipment running until moisture readings confirm the area is fully dry — this window applies regardless of how small the incident is.
6. Document before you remove anything. Photograph and video all damaged areas and materials before cleanup begins. Contact your insurer promptly to report the damage and confirm what documentation they need before repairs start. Throwing out damaged materials before documenting them can hurt your claim — insurers need to see the damage as it was.
7. Repair and restore. Once moisture readings confirm the area is dry, assess structural damage, replace compromised drywall, flooring, and insulation, and restore surface finishes. Do not start repairs on any material until dryness is confirmed.
Why the Sequence Matters
Each phase protects the one that follows. Attempting water removal in a live electrical zone, or while water is still entering, makes the damage worse. Starting repairs before drying is complete traps moisture inside walls and floors. Discarding materials before documenting them eliminates evidence your insurer needs. A fixed sequence closes those gaps by design — a random list of tips does not.
When DIY Cleanup Applies and When It Doesn’t
DIY cleanup works for contained, low-volume incidents. For a single appliance leak or a contained pipe drip, the same seven-step sequence applies but moves much faster — water removal may take only towels and a fan, and structural assessment is minimal. It helps to be aware of common plumbing issues homeowners overlook, since many water damage events start as slow, hidden leaks that go unnoticed until saturation is already widespread.
It does not work for every situation. If water has soaked through structural materials across multiple rooms, if the source is contaminated — sewage backup or floodwater — or if you can already see mold, call a licensed restoration contractor directly. Document all damage thoroughly before any professional work begins so you have what you need for the insurance claim.
What Needs Replacement Versus What Can Be Saved
Once the emergency steps are handled, the next decision is what to replace and what to keep. Drywall, insulation, and flooring that absorbed standing water typically need to be replaced. Solid structural framing may be salvageable. If you’re not sure how far the saturation goes, get a professional assessment before starting repairs. Knowing when to handle repairs yourself versus when to hire a contractor can save you from making costly mistakes at this stage.
Responding within the first few hours produces very different results than waiting 24 hours. In that window, many materials can be dried and saved. Past it, drywall, insulation, and subfloor materials are often soaked beyond recovery.
Acting Before the 24-Hour Mold Window Closes
Water damage punishes hesitation. Skipping steps doesn’t save time — it creates mold, structural failure, and denied insurance claims. The sequence matters: safety first, then source, then extraction, drying, documentation, and repair. Treat it less like a checklist and more like triage: methodical, urgent, and always verified with a moisture meter before moving on. If the source is contaminated or the damage spans multiple rooms, skip the DIY sequence entirely and call a licensed restoration contractor. To reduce the risk of future incidents, following a seasonal home maintenance checklist can help you catch vulnerabilities — like failing caulk, gutter blockages, or aging plumbing — before they turn into water damage events. Document everything before anyone touches it.